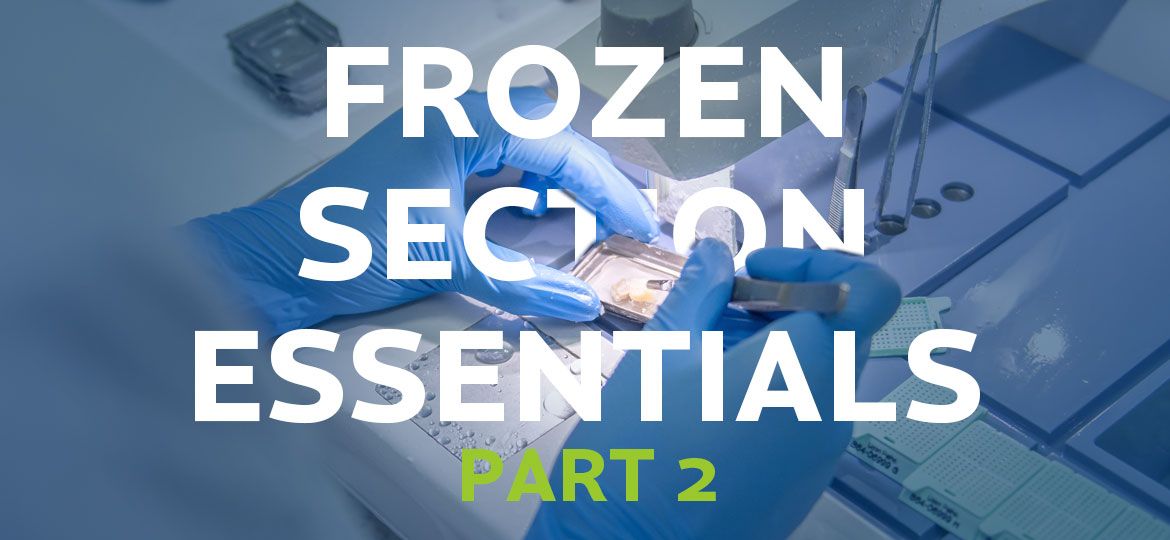
In the second installment of our two-part blog series on Frozen Section Essentials, we’ll explore the tools and equipment needed to set up an OPO lab and create frozen section slides that enable pathologists to provide accurate interpretations of donor-organ tissue.
We also invite you to check out Part One of our series, which includes a starting checklist for initial lab considerations.
Frozen Section Tools & Equipment
By assembling and utilizing essential pathology tools and methodologies, OPOs can achieve a streamlined and effective biopsy process for preparing high-quality frozen section slides.
Cryostat
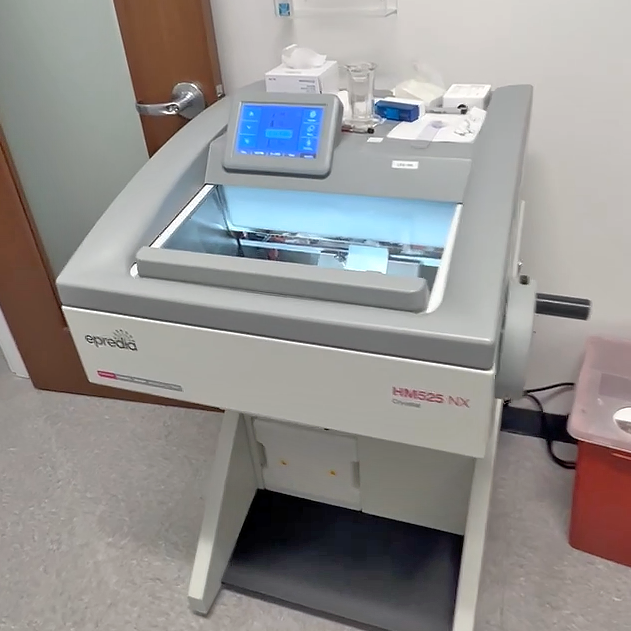
The most critical piece of lab equipment for creating frozen sections is the cryostat, a machine that allows you to cut very thin slices of tissue at extremely cold temperatures. Inside the cryostat is a sharp blade that slices the frozen tissue, typically the thickness of a few microns (one micron equals a thousandth of a millimeter).
There are several cryostat options on the market at different price points and with different advantages and features. Well-known models include the Leica CM1850, CM1860 and CM1950, as well as the Avantik QS12 and the Epredia NX70.
Some cryostats have UV light, which is an excellent disinfecting agent. Others are equipped with self-cleaning vacuum features, which help prevent aerosolizing potentially infected samples. You can also opt for an adjustable cryostat, which can be raised or lowered depending on the height of the operator.
Furthermore, you may consider investing in a backup cryostat. If your cryostat is out of service, for maintenance or otherwise, backup equipment can help prevent workflow disruptions.
Please contact us for more comprehensive information and budget guidance.
Staining Equipment
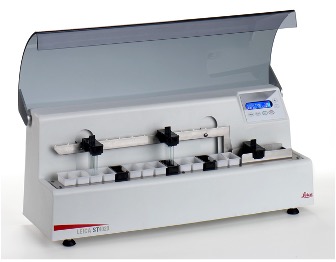
After being sectioned and mounted to a slide, a tissue sample typically needs to be stained, or colored with special dyes, in order to highlight different structures within the tissue and make it easier for pathologists to study. This process can be described as dipping the slide in various solutions and dyes for specific amounts of time. For this step, you’ll need staining equipment.
Different models of staining equipment support different staining methods. Some require a manual process, while others are more automated. For the specific purpose of frozen section staining, we suggest a single-stage linear stainer, such as the Leica ST4020, which automates the slide “dipping” process but is still cost-effective ($5-8K range). When slides are loaded into the equipment, staining solutions are automatically applied in the correct order and for a standardized amount of time.
While automatic stainers can be more costly upfront, they allow for faster processing, the most consistent results and a reduced risk of human error.
Please note: Advances in AI technology now allow for “virtual staining” of slides after they have been digitally scanned, offering promising improvements in visibility and diagnostic accuracy. While this innovative process holds great potential, it still faces ongoing technical and regulatory hurdles. We’ll be keeping a close eye on this evolving technology as it continues to shape the future of pathology.
Necessary Embedding Tools
While a cryostat and staining equipment are the main features of your lab, they’re most effective when you have the right tools to first freeze and embed your tissue. While there are different methods of embedding, we’re going to focus on the tools needed for a flat embedding system, pioneered by the late Dr. Stephen Peters.
Dr. Peters’ system keeps the tissue flat to ensure that when it’s sectioned, the slices are uniform and provide a clear, accurate view of the tissue structure when examined under a microscope. This technique requires a well bar, OCT compound, chuck and freezing block.
Well Bar: A mold with multiple compartments at specific depths, used to hold the tissue flat during the freezing process.
OCT Compound (Optimal Cutting Temperature Medium): A liquid embedding medium that surrounds the tissue, freezing into a solid block that supports the tissue during sectioning.
Chucks: Metal or plastic holders that fix and secure the tissue block in place.
Freezing Block: A tool that accelerates the freezing process by extracting heat from the tissue, helping to ensure rapid and even freezing.
While using the right tools and equipment will help standardize the process, there may still be some growing pains as you and your team learn to troubleshoot issues that can arise when creating frozen section slides. The team at CompuMed is here to help.

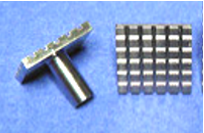
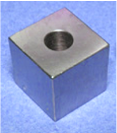
Over-Chuck Freezing Block
More Frozen Section Resources for You
Consultations & feedback: CompuMed’s lead pathologist assistant is available to provide clients with consultations, training and feedback on samples. Contact us to learn more.
Slide Savvy with Fernando: Check out our webinar series for tips on how to troubleshoot issues that occur during frozen sectioning, as shared by Fernando Chang, IMG, a renowned pathologist assistant specializing in frozen section analysis.
Scan & digitize your slides: The process doesn’t end once your tissue is sectioned and stained. CompuMed’s supports the use of the Grundium Ocus®, a portable, fully automated microscope solution that can easily scan and digitize biopsy specimens with excellent quality. Contact us to learn more about purchase and leasing options.


